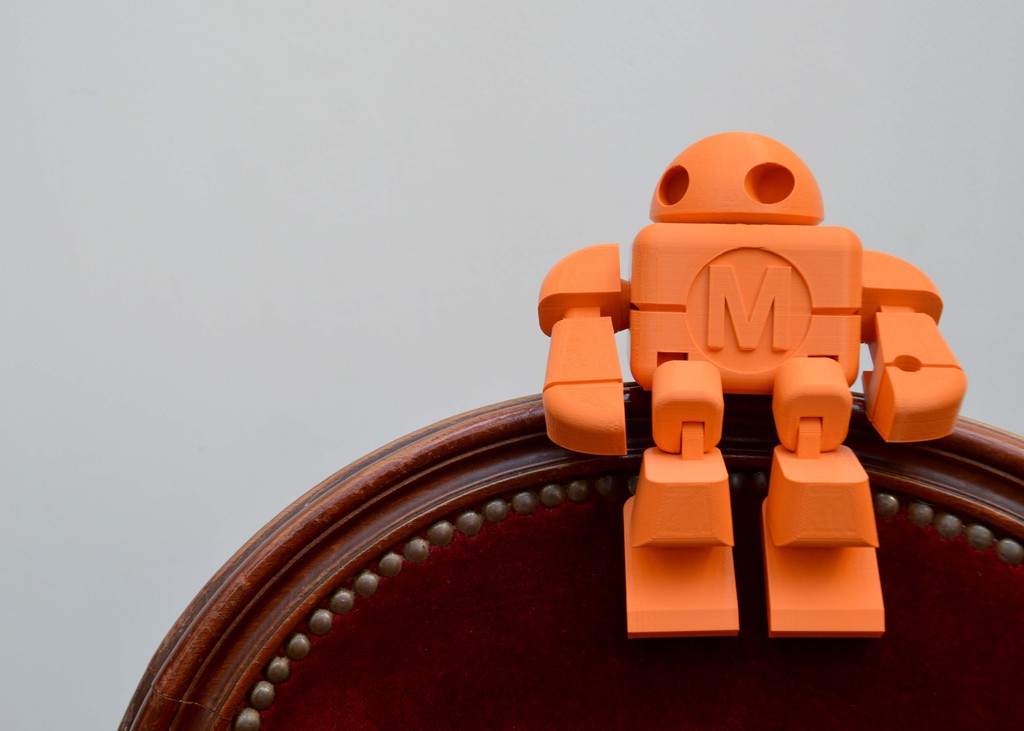
Print Assemblies in Place
- Instead of printing several parts and assembling them later, the individual pieces are printed already in place.
- This way it is possible to create movable parts that are impossible to take apart.
- Ensure you have enough clearance between parts so that they don't stick together.
- When printing with Ultimaker, aim for small overhangs at the hinges. Consider tapered hinges avoid overhangs.
- One well known example of utilising this method is the Maker Faire Robot by LeFabShop.
|
|
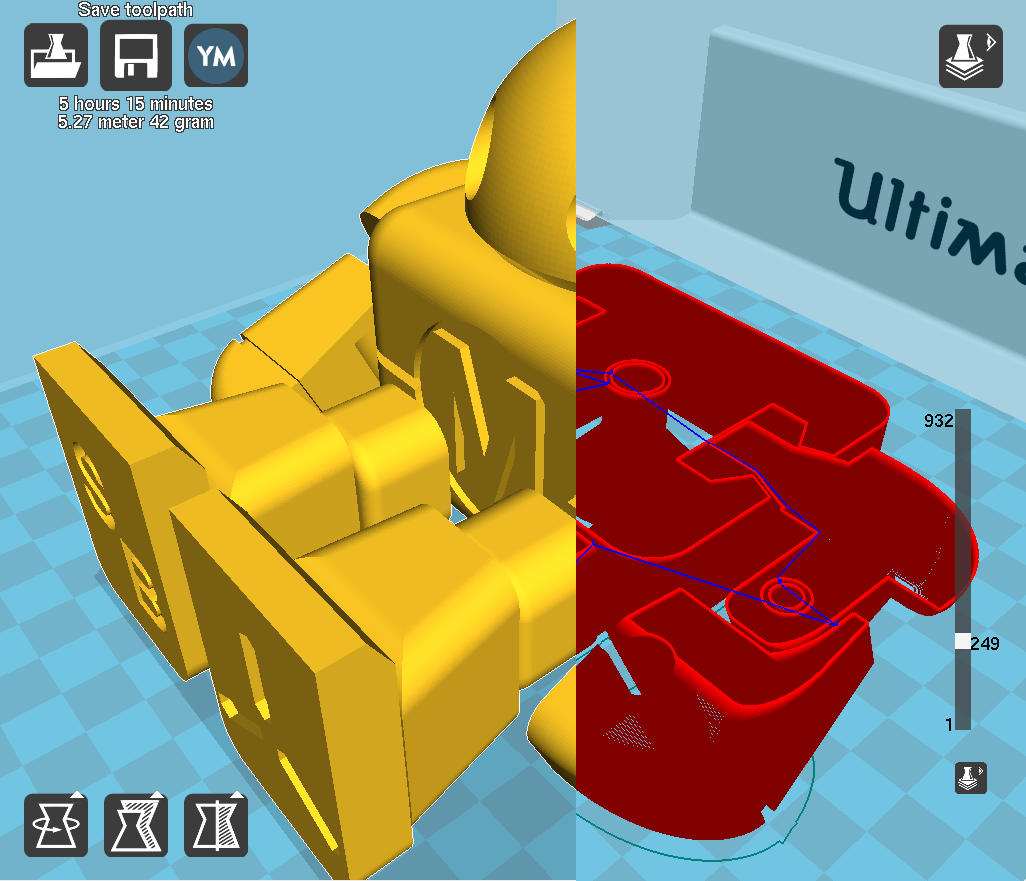
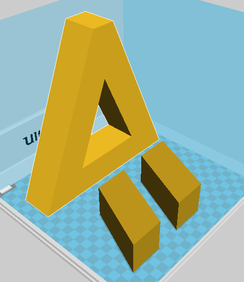
Print Parts as Assemblies
- Sometimes it is unavoidable to print large overhangs.
- By breaking your part into separate pieces and assembling them later, you can create geometries that might be impossible to print otherwise
|
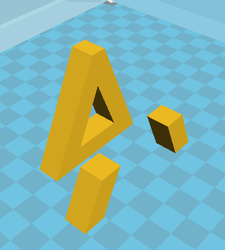
|
An alternative would be to lie the 'A' on its side, but this is sometimes not possible.
Join Parts of Large Pieces
- Parts have limited size, defined by the printers dimensions.
- A simple way around this, is to print the part in separate pieces and glue them together.
- It is a good idea to add alignment holes. This will make glueing easier and add structural integrity.
Make use of Complexity
- When creating a part in the workshop, every feature requires extra work.
- Some shapes are impossible to cut (e.g. hollow spheres).
- When printing, the complexity and voids of your models do not pose any problem, so make use of them.
- Hollow models require less material (are lighter) and print faster.
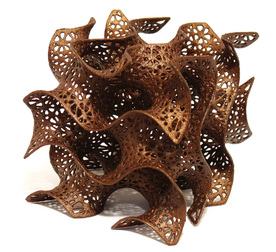
From http://www.3dizingof.com/
Make use of Chamfer/Fillet for Strength
- Similar to "Make use of Complexity": Fillets can easily be implemented to round of edges, which makes them more difficult to break.
- Chamfer will typically create a nicer finish, because fillets have regions of very shallow angles near the horizontal, which are difficult to print.
- Especially useful to reduce stress at perpendicular extrusions and edges.
Check your model for errors before exporting it to a stl file
- Perform a final check to your model before you export it to a stl file. This will save you time by using fewer settings in the Slicer software and will ensure a successful printing.
- Use any 3D printing software you like and you have access to. We really like Blender!
- Key parameters you should check: manifoldness, intersections, area and thickness of model.
- Multi-object meshes can be merged and then be exported as one stl file.
Speed up the printing and calculation times
- When you finish your modelling you can reduce the polygon count to accelerate the printing and the calculation time in your Slicer software.
- Decimate your model by reducing the polygons while preserving most of the features. Then, triangulate that mesh.
- Sharper edges that may distort your printing can be smoothed. Do not smooth them too much if you want to keep details in your model.
- There is a decimate option in most modelling software. Use Decimate Modifier in Blender.