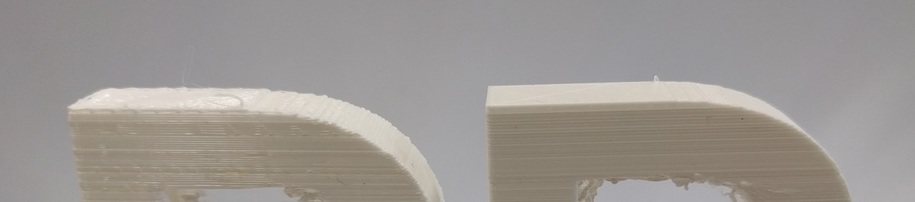
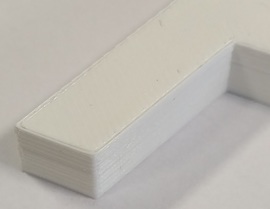
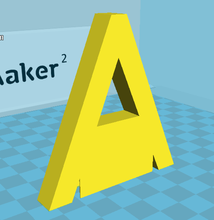
Outer Corners will be Rounded
- The nozzle has a finite diameter, so even perfectly sharp turns will create edges with a diameter corresponding to that of the nozzle.
- However, this is only true for outer edges. If you take the size of the nozzle into account, you can create much smaller features on the inside of the turn.
- The print head slows down at sharp edges, causing extra plastic to be extruded. This will cause outside edges to be a little bit thicker.
- This can be a problem when parts need to fit together. If the outside edge needs to be well defined, consider having it slightly rounded.
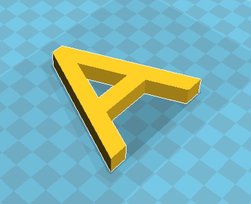
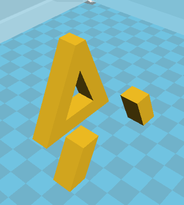
Ovoid Overhangs
- A fundamental rule for printing with an Ultimaker is to avoid overhangs as much as possible.
- The printer can even print short horizontal overhangs, but they won't look great and are unreliable.
- For a good finish, you should aim to have overhang angles at 45˚ or lower.
- Consider breaking your part into separate pieces and glue them together if overhangs are unavoidable.
|
|
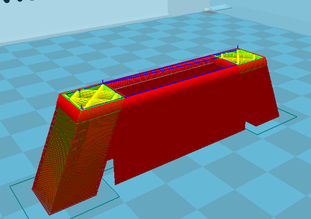
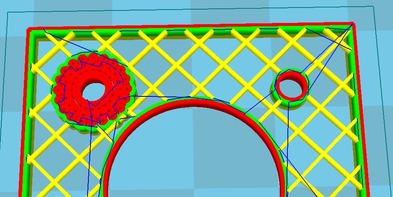
Design Your Own Supports (Printers can Bridge)
- Cura creates its own supports for big overhangs. They can be difficult to remove and ruin the surface they are supporting.
- Meshmixer can be used to automatically generate complex support structures.
- Creating your own support structures are the best solution, because you know best what you want.
- The printer can bridge short gaps between supports.
- This is especially useful when printing horizontal holes: The top part would otherwise be unsupported and create a smaller hole than expected
|
|
Optimise Orientation for Strength
- Parts are easier to break between the layers of your print.
- If you expect a lot of stress in one particular direction, try to account for this when choosing the orientation of your print.
Force Solid Infill for Strength
- Adjust the wall thickness to make the part uniformly stronger. This will drastically increase the print duration.
- By adding small cylinders near to a wall your can artificially create extra wall thickness locally.
- This is most commonly useful for holes that need extra wall thickness when you want them threaded.
From http://support.3dverkstan.se/article/38-designing-for-3d-printing
Include Hardware for Strength
- You can pause your print to integrate other materials or parts into your design.
- This can be used to insert metal nuts into your print to ensure that the threads will not get damaged.
- Make sure to have a thick wall around the nut, as it will exert a lot of torque.
Plastic Shrinks (Print Size Reference)
- The plastic will shrink, depending on a number of factors including the shape of your part.
- Vertical holes typically come out smaller than extended because the shrinking plastic acts like a rubber band, pulling together.
- The first layer will get squished, making holes even smaller.
- Experiment and print size references if a feature size is critical in your design.
Avoid Shallow Slopes due to Stepping
- Beware that you are printing in discrete layers. This will cause the surface to look jagged on very shallow slopes.
- You can minimise this effect in Cura by reducing the layer height, but this can drastically decrease your print speed even though you only need thin layers for one part of the print. (Slic3r can be your way around this)
- Try to design your piece such that slopes do not taper off slowly.